- Identify the power source: Determine where you will be connecting the lights to power. Most golf carts have a 12-volt battery or a voltage reducer installed to power accessories. Consult your golf cart’s owner’s manual or check with the manufacturer to determine the correct power source.
- Disconnect the battery: Before starting any electrical work, disconnect the golf cart’s battery to prevent any accidental short circuits or shocks.
- Mount the lights: Position the lights on the front and rear of the golf cart according to the instructions provided with the light kit. Typically, they are attached using screws or brackets. Use a screwdriver or drill to secure them in place.
- Install the wiring: Route the wiring harness included in the light kit along the frame of the golf cart, making sure it is secure and away from any moving parts or hot surfaces.
- Connect the wires: Strip the ends of the wires from the light kit and connect them to the corresponding wires on the golf cart. Match the colors or follow the instructions provided with the kit. Use wire connectors to join the wires together securely. Ensure a proper connection by tugging gently on the wires.
- Test the lights: Turn on the golf cart’s key or power switch to activate the electrical system. Use a voltage meter or test light to verify that power is reaching the lights.
- Secure and tidy the wiring: Use zip ties or wire clips to secure the wiring along the frame of the golf cart, keeping it neat and organized.
- Adjust and aim the lights: If your light kit allows for adjustment, position the lights to your desired angle and aim. Ensure they provide adequate visibility without causing glare to other drivers.
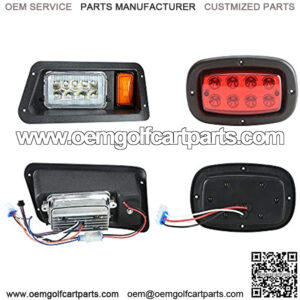
golf cart light kit
how to install golf cart light switch